I'm making a modified self watering container, the principles which I learned from the internet. I'm going to use empty plastic soda bottles of the two liter size.
Here is how to make it:
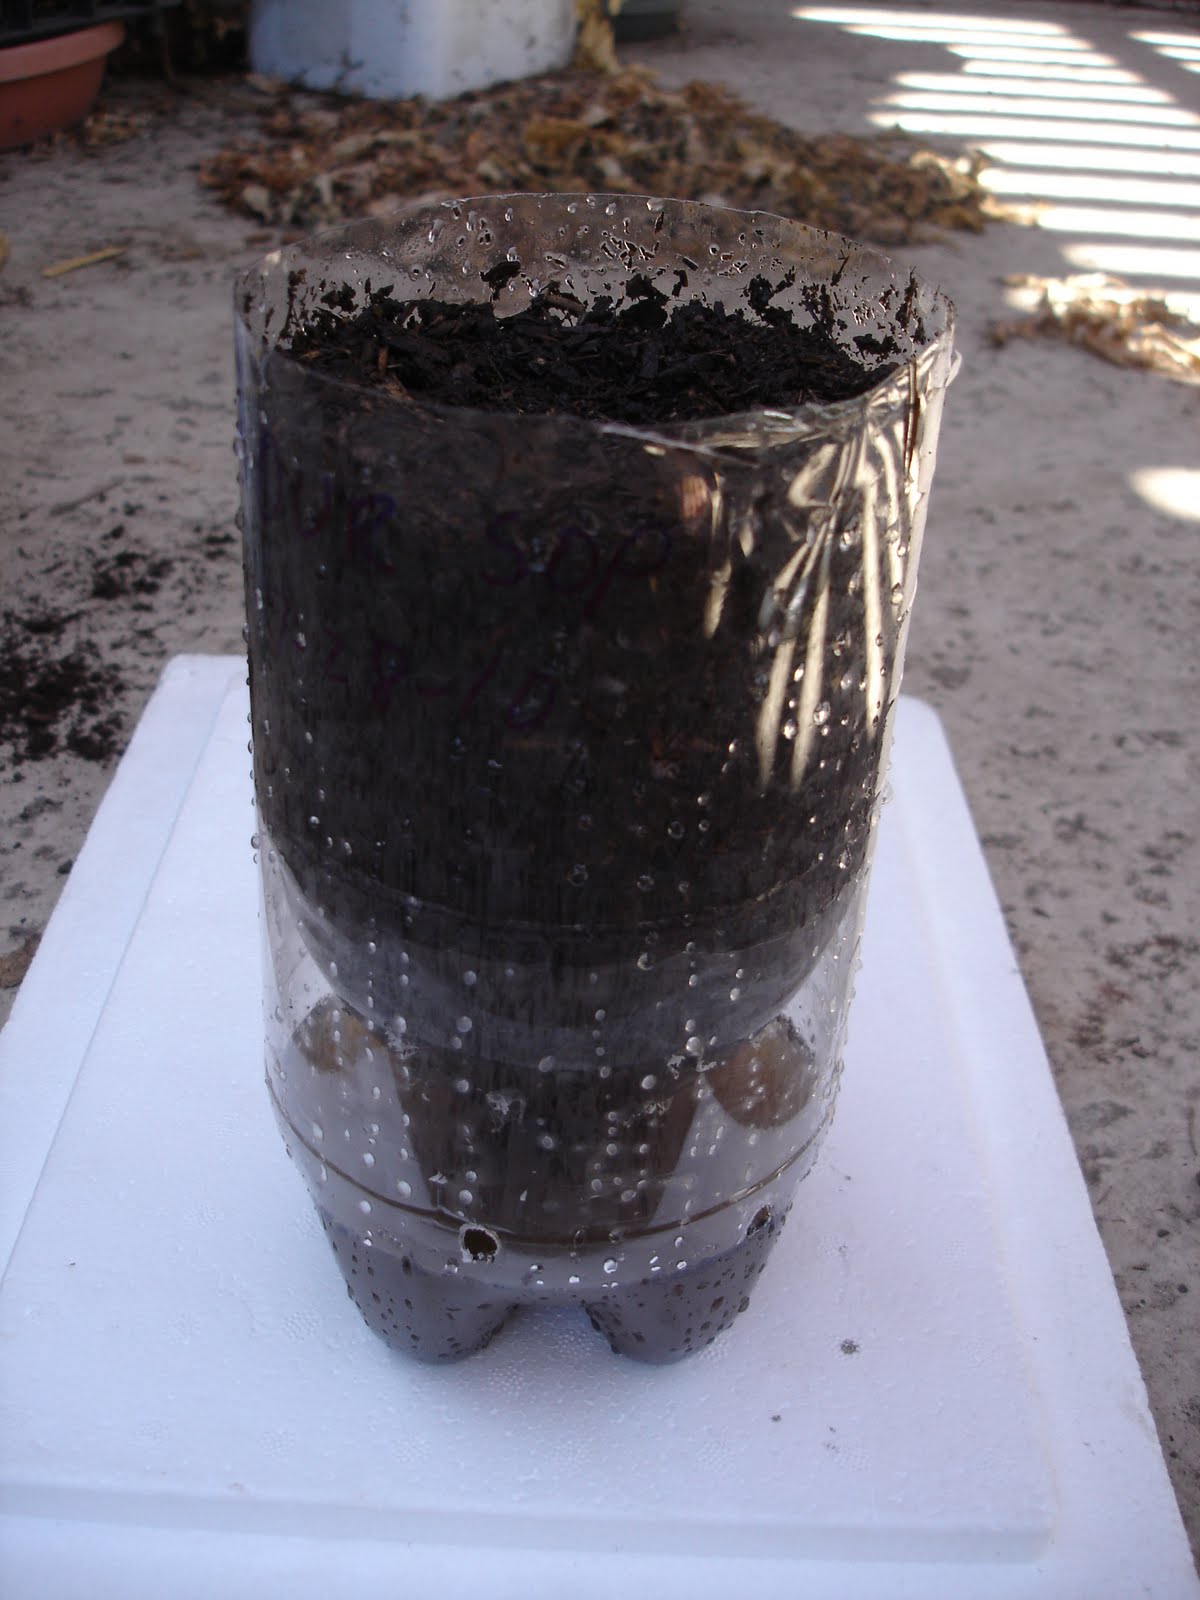
1. Cut off the top of the bottle. Cut it off at the point BEFORE the bottle starts to taper and narrow. You are going to invert the top and insert it into the bottom half of the bottle. You want a snug fit. Cutting the top off too high will result in a loose fit. This top essentially becomes the BOTTOM of your pot.

2. Drill numerous holes into the top half of the bottle that you cut off. These are drainage holes. It is very important that you drill holes into the neck of the bottle as well.

3. Invert the upper half of the bottle and insert it into the lower half of the bottle.

4. Drill one or two holes into the side of the bottle. Choose a location that is just below where the inverted neck of the bottle begins to narrow. These holes will serve as the drain overflow holes for your reservoir.

5. Fill the bottle with potting soil.
6. Saturate the soil with water until it fills up your reservoir. It is very important that you saturate the soil. The mouth of the inverted bottle top will be submerged in your reservoir and this will serve to "wick" up the water via capillary action to the rest of your soil. This is how your container self waters itself. Always make sure there is enough water in your reservoir.

7. An alternate step, which I chose to omit, is to insert a tube or straw down the inside of your container from the very bottom of your reservoir up to several inches above your soil. This would serve as the channel via which you would refill your reservoir. Instead, I chose to refill my reservoir simply by watering through the top until the reservoir is full. This serves to wet the topsoil in the event the water somehow does not "wick" all the way to the top. It also saves me the trouble of finding tubes to use as a refill tube.